


Working from my Kitty Pod * Cat Cave Felted Knit Pattern, I created the xx-Large size pod. When I finished knitting the pod it was about 35 inch long - yes that long, crazy big! It took just about 20 oz of worsted weight 100% wool yarn.
 |
| 2 jeans, pod and hot soapy water |
Because the pod was so big I could not use a laundry bag. I placed it in my washer with two pair of jeans. I usually use towels, but didn't want any lint on the pod, since it wasn't in a laundry bag. I began the long process of felting. I checked it every twenty minutes so that I could shape the pod and make sure that it was not getting dented or creased.


The pod felted down 14 inches after the first 40 minute of hot soapy water in the wash cycle - see picture above. I put it in for another 20 minutes and it felted down another two inches - see picture below. In the bottom picture the pod is beginning to feel thicker and stiffer, more solid, just the way I want it to be.


I put it in for another 15 minutes to ensure that the felt was sturdy enough to hold it's shape. It took about 75 minutes of washing cycle time to felt my pod to the size and thickness I like. Your washing machine's time may vary, but you should still get the same results. I do not spin my felted work to remove the water, but you can if you like. It is a little difficult to squeeze the water out, but I find that it prevents creases. Then I stuffed the pod with plastic bags. But the pod was so big I didn't have enough bags, so I took a bag and filled it with yarn that I had. I stuffed it until it could not take anymore. It was solid and measured 17 inches long. I set the pod outside to dry in the sun. It took about 2 days to feel dry on the outside of the pod. I removed the bags and stood it upright back outside to dry for another day. Total dry time 3 days.
 |
| wet and stuffed with bags |

Once my pod was dry it held it's shape for the most part, but the opening began to close. I wanted it to stay open, so I decided to try boning on the rim to hold it open.
 |
| dry and empty without bags |
 |
| dry and ready to use, but...idea! |
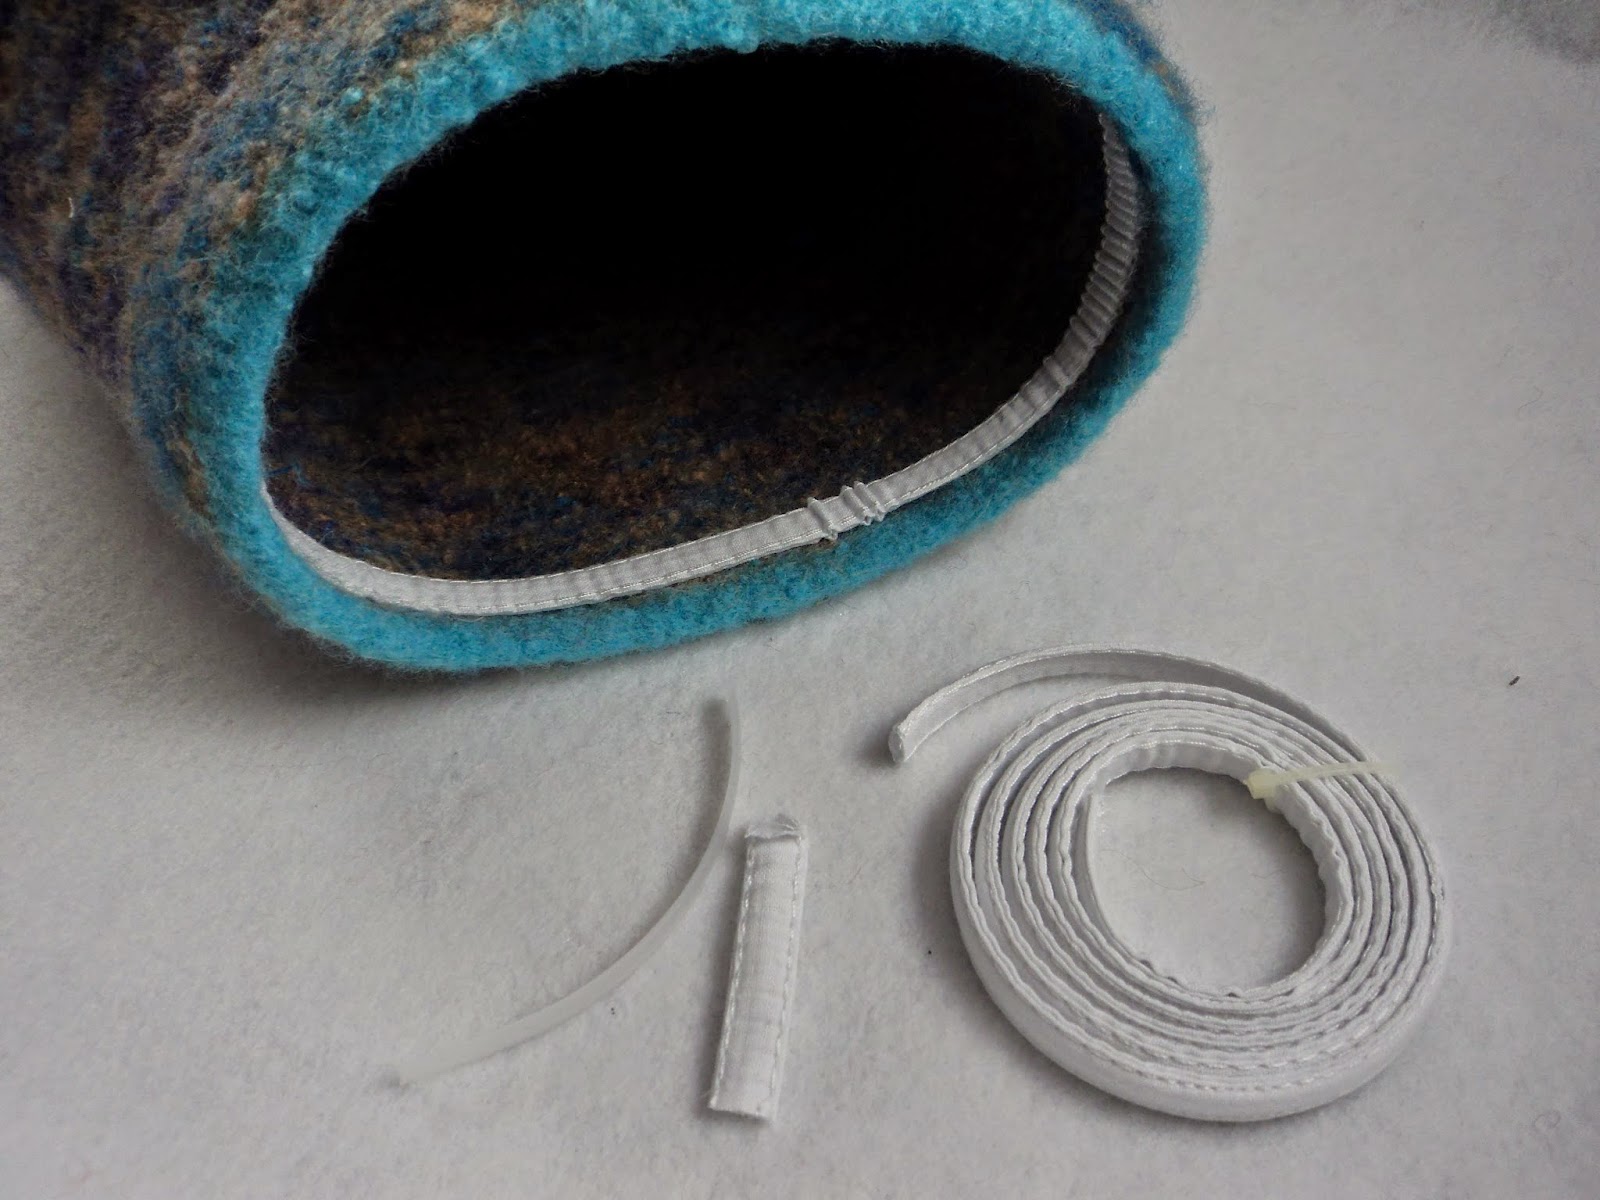
Boning is used in sewing and you can find it at any fabric store. It comes as a plastic strip or covered in fabric to sew in place. I used white boning so that you could see it in the photos.
 |
| without boning |
I sewed the boning into place, making sure that you could not see the stitches on the outside of pod. I stitched on both sides of the boning, so that it would lay flat. I finished the look by stitching yarn around the opening. This is just another idea for customizing your cat pod to your cat's personality :) have fun with it!
This is just another idea for customizing your cat pod to your cat's personality :) have fun with it! |
| *Please note that your cat may not get inside it* *That it may take a lot of yarn and time to create* *And that felting can be a fickle friend* |
LOVE this!! I just found your store at Etsy and had to come over for a looksee! Look for a purchase of this pattern from me :) I've got two kitties who would just love having Kitty Pods of their own!! XOXO-Shari
ReplyDelete(just started following you, too!!) :) :)